
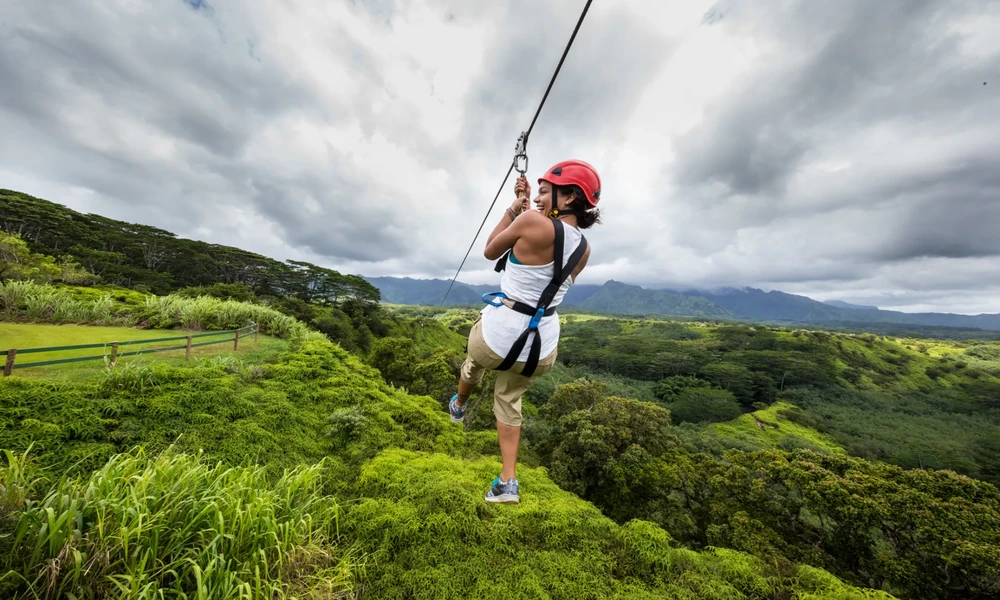
Three and a half hours. That’s the number that decides most zipline vacations on Kauai, and almost nobody checks it before they pay. You book something that looked thrilling in a photo, then find out the course is six short lines and a lot of waiting on a platform in the sun. Your one full day on the south shore, gone.
Here’s the good news: Hawaii’s zipline scene is competitive enough that the difference between a great tour and a forgettable one comes down to a handful of details you can check in ten minutes. Line count and length. Group size. Check-in rules. What the operator hands you at the end. Get those right and you’ll walk away with the day intact, plus a story worth repeating at dinner.
If you already know what you want, a good starting point is to book your Hawaii zipline tour today on a course that runs eight lines, including the half mile glide. If you’re still deciding, keep reading. The rest of this guide is the checklist I wish every first-timer had before tapping “reserve.”
What actually separates one zipline course from another?
It’s not the height. It’s the course design. A line that’s 90 feet up but only 300 feet long gives you about four seconds of flight and then a long walk to the next platform. A longer, lower line with a great view over open water gives you the ride people talk about.
So when you compare operators, ask two questions in this order. How many lines, and how long are the three longest? That second part matters. Tour companies advertise total course time, which includes gearing up, a practice line, snacks, and the drive to the first platform. The actual flying time is a small slice of the clock.
On Kauai, the south shore courses tend to run over former agricultural land with big open views, while north shore tours lean into rainforest and valley scenery. Neither is better. They are different rides. Pick the one that matches the photo you want to bring home.
Ground school and tandem options for kids
Good operators teach before they launch. You want a practice line where you learn braking, hand position, and how to signal the guide, because the first real line should not be your first time trusting a pulley. If you’re bringing a nervous eight year old, ask whether tandem rides are available with a guide. It changes the whole mood of the day.
Check-in timing and the rules nobody reads
Here’s my strong opinion: the check-in policy is the single most underrated part of a zipline booking. Tours leave at a set time. They do not wait. If you’re driving from Poipu to Kapa’a during morning traffic, that leisurely buffer you built in your head can vanish fast.
Build in extra time, always. Arrive early, park, use the restroom, and sign whatever waivers come your way. Tour providers generally can’t delay a departure for one late party, because the next group is already waiting on the platform. Same goes for payment. Many operators require the cardholder to show the actual card used in the booking at check-in. If your partner paid with a card that’s sitting in a hotel safe, you may be standing at the counter explaining yourself.
Weather is worth checking the night before, too. Rain does not usually stop a zipline tour, and many courses run rain or shine. But if severe conditions are moving through, the operator will make the call. A quick look at the National Weather Service for the island forecast helps you pack the right way instead of guessing.
What to wear, and what quietly ruins the ride
Wear closed-toe shoes that hold your ankle snug. Not water shoes. Not Crocs. Not those chunky platform sneakers that look cool on Instagram and catch on every platform edge. Sturdy trail or running shoes are what you want, and you’ll be standing a lot, so comfort beats style.
Pants or longer shorts work better than short-shorts. Long sleeves or a t-shirt keep the sun and the harness straps off your skin. Bring sunscreen, bug spray, and a camera you can secure to yourself, not one you’ll be juggling at 50 feet up.
- Closed-toe shoes with ankle support
- Longer shorts or pants
- Sunscreen and bug spray
- A secure way to carry your phone
- A light layer for wind on the platforms
Leave the loose jewelry and anything with sentimental value behind. Operators aren’t responsible for lost items, and dropped sunglasses become a very expensive story.
The practical steps to book the right tour
Set aside a few minutes and work through this in order. It takes the guesswork out and stops you from booking on impulse at 11 p.m.
- Pick your region first. North shore, east side, or south shore. This decides your drive time and your views.
- Compare line count and the longest line. Ask for total flight time, not total tour time.
- Check the age and weight limits against your group. Younger kids usually need a tandem setup, and every operator has a weight window.
- Read the cancellation policy. Most operators need a day or two of notice for a refund, and that window gets tighter without trip protection.
- Confirm the check-in window and the cardholder rule. Put the arrival time in your phone with a 30 minute cushion.
- Pack the night before. Shoes by the door, sunscreen in the bag, no surprises at 6 a.m.
Whether you’re flying in for a week or squeezing a tour into a two day layover, that sequence saves you from the most common mistake: booking a course because the photo was pretty, then realizing the drive from your hotel eats half the morning. Also, worth noting if you have back, neck, or knee trouble, are pregnant, or had surgery recently, talk to your doctor before you book. I’m talking about logistics here, not medical advice, but it’s the kind of thing you want sorted before you’re in a harness.
Why the south shore keeps winning people over
Kauai’s south shore sits in the sunny belt, and that’s not tourism spin. The island’s climate varies sharply by region, and the leeward side stays noticeably drier on average. According to the Hawaii Tourism Authority, the islands draw visitors for wildly different reasons, and outdoor adventure consistently ranks among the top draws. If your one adventure day is precious, betting on the dry side has practical logic behind it.
That’s a big part of why a course on former sugar plantation land near Koloa works so well. You get wide coastal sightlines, ridgelines in the distance, and enough acreage that the lines can run long instead of doubling back on themselves. Course designers with room to spare build longer flights. Simple as that.
And if you want to turn the day into more than one activity, remember that Hawaii’s public lands and parks set rules of their own for commercial visitors. The National Park Service spells out access policies for parks, which is useful if you’re pairing a tour with a state park stop later in the afternoon.
The two things I’d never book without
First, a practice line with real instruction. Second, a tour that tells you exactly what happens if you’re late. The first protects your nerves, the second protects your wallet. An operator who’s upfront about both is telling you something about how their day runs.
The tourists who have the best time aren’t the adrenaline junkies. They’re the ones who matched their itinerary to the course, padded their arrival time, and wore actual shoes. Boring preparation, outstanding payoff.
So before the calendar fills up and the good time slots vanish, pick your course, confirm the details, and lock in the morning you’ll be flying over the south shore. Then text your group the arrival time with a cushion built in. They’ll thank you on the platform.